How to Extend Visa in Indonesia (Latest 2026 Update)

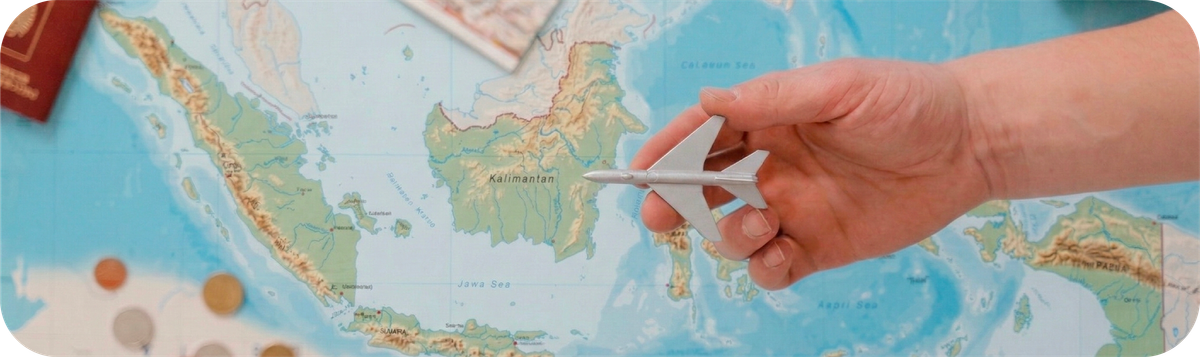
Did you know that overstaying your visa can result in a fine of IDR 1,000,000 per day in Indonesia? What may seem like a small mistake can quickly turn into an expensive problem if you're not aware of your visa's expiry date.
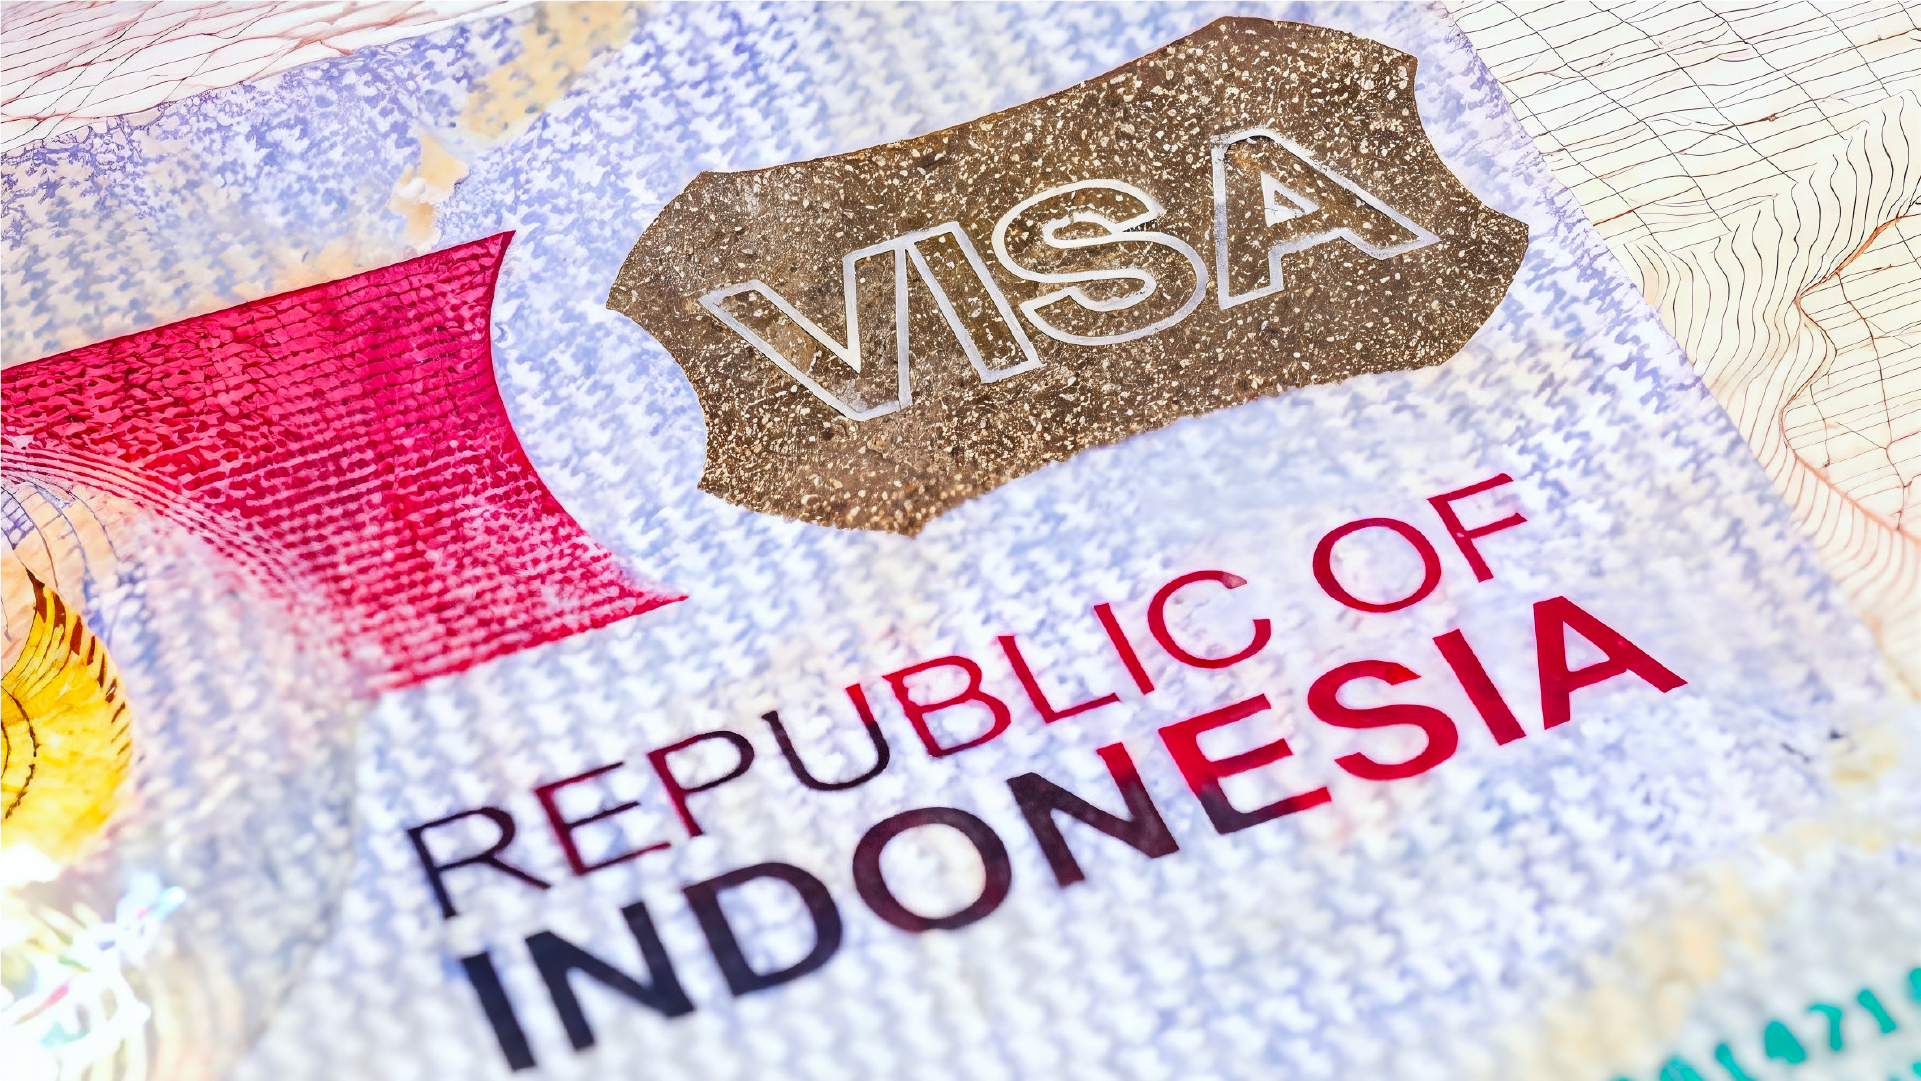
With Indonesia updating its immigration systems in May 2025, the visa extension process has evolved. According to the Director General of Immigration’s Circular No. IMI-417.GR.01.01 of 2025, applications begin online through the official immigration portal. Foreign visitors, however, are still required to visit the Immigration Office in person for biometric verification and a brief interview.
In this guide, we’ll walk you through the 'New Normal' of visa extensions, ensuring your stay remains smooth, legal, and hassle-free.
Step-by-Step Guide to Extending Your Indonesia Visa
Extending your Indonesia visa in 2026 is now much easier, but the steps differ depending on the type of visa. Here’s a clear guide for each type of visa:
e-VOA (Electronic Visa on Arrival)
e-VOA is mostly used by short-term tourists or business travelers. It is valid for 30 days initially and can usually be extended once for another 30 days, making a maximum stay of 60 days. If you want to stay longer, you’ll need a different visa or to leave Indonesia and re-enter.
Most of the process can be done online, so you could even handle it while enjoying a coffee. But under the new rules, your first extension now requires a short visit to the Immigration Office for biometric verification. Here’s how it works:
Online Application Step
- Login to evisa.imigrasi.go.id and check your visa status.
- Select “Extend Visa” on your dashboard.
- Upload a clear and readable scan of the biodata page of your passport. If the portal requests it, also include your exit flight ticket from Indonesia to show your departure plan. Make sure all files are in JPEG or PNG format and have good resolution so the system does not reject them.
- Pay the extension fee online of IDR 500,000 using credit card or QRIS. Make sure to keep the digital receipt.
Office Visit Step
- Once your payment is verified, you’ll receive a notification to schedule a visit to the nearest Immigration Office. During this short visit, the officers will take your photo and fingerprints, and you’ll answer a few quick questions about your stay and where you’re living.
- After your visit, your new e-VOA will arrive in your email within 1–3 working days.
Visitor Visa 211A/B1
The Visitor Visa 211A/C1 is best for long-term travelers, digital nomads, or business visitors who want to stay in Indonesia beyond the 60 days allowed by an e-VOA. The visa gives an initial stay of 60 days and can usually be extended twice, each for another 60 days, allowing a maximum total stay of 180 days.
Extending this visa is a hybrid process that combines online application with a short visit to an Immigration office. Here’s how the process works:
Online Application Step
- Complete the online application at evisa.imigrasi.go.id.
- Go to your Dashboard, find your active 211A visa, and click "Extend".
- Upload all required documents, which include a high-quality color scan of your passport biodata page, proof of funds showing at least USD $2,000 in your account or your sponsor’s account, a confirmed onward or return flight ticket departing Indonesia within the next 60 days, and, if required, a sponsor letter from your Indonesian host or company that is signed and stamped with an IDR 10,000 duty stamp.
- After submitting your extension request at evisa.imigrasi.go.id, the system will generate a Billing Code for an immediate online payment of approximately IDR 2,000,000 via Credit Card or QRIS to cover the 60-day extension and biometric processing fees.
After that, the portal will show available dates for your Immigration office visit based on your address. You can select and confirm a slot, and the system will generate an appointment notice to bring along with your original documents.
Office Visit Step
- On the scheduled day, attend the Immigration office in proper attire and bring your original passport, printed appointment notice, and payment receipt.
- Complete the biometric process at the office, including fingerprint scans, a live photo, and a brief interview regarding your stay.
KITAS/ITAS
The KITAS/ITAS is designed for expatriates working in Indonesia or joining family sponsors, making it the ideal visa for those who plan to stay for months or years rather than weeks. This visa requires sponsorship from an Indonesian company or family member and allows a stay that can be extended multiple times up to a total duration of around 5 - 6 years, after which it must be converted into a Permanent Stay Permit (KITAP).
Extending this visa involves a hybrid process that starts with an online application through the Immigration portal and is followed by an in-person visit to an Immigration office for biometric verification and document validation. Here’s how the process works:
Online Application Step
- The extension process must be initiated by your sponsor (company or Indonesian spouse) via evisa.imigrasi.go.id at least 30–60 days before your current KITAS expires.
- Have your sponsor or company log in to the Immigration portal and upload all required documents, including your passport (minimum 18 months validity), recent photo, your current e-KITAS, latest proof of residence, and sponsor legality documents (company NIB/NPWP or spouse’s KTP/KK). For work KITAS, the sponsor must also attach RPTKA notification and proof of DPKK payment (USD $100/month).
- Once the data is submitted, the system will generate a Billing Code, and the PNBP payment must be completed online immediately to change the status to "Paid" and unlock the biometric appointment schedule.
After payment confirmation, select an available date and time for your Immigration office visit through the portal, which will assign a location based on your registered address.
Office Visit Step
- On the day of your appointment, dress formally in a collared shirt and shoes, and bring your original passport and a printed copy of the payment receipt.
- Complete the biometric process, including live photo capture and 10 fingerprint scans, while all documents are verified directly by Immigration officers.
- After the biometric session, the application is processed within 3–5 working days.
- Your updated stay permit is issued as an Electronic KITAS (e-KITAS) in PDF format, which is sent directly to your email and your sponsor’s email. Keep this digital document safe, as it is integrated with the All Indonesia app and can be used for verification when traveling in and out of Indonesia.
Insider Tips to Extend Visa Indonesia Smoothly

If you don’t want to lose your mind dealing with Immigration, here’s what you need to know to extend your visa without any stress.
Golden Rules of Timing
Start early and don’t wait until the last minute. For e-VOA and Visitor Visas, begin the process at least 14 days before your current visa expires. For KITAS, start 30 - 60 days in advance since it requires more supporting documents and coordination with your sponsor. Also, keep in mind public holidays in Indonesia, including national holidays or collective leave days, as Immigration offices may be closed and online systems could slow down during these times.
Digital Preparation & Quality Control
Make sure your passport and all other documents are scanned in color, sharp, and fully visible because Immigration’s system can automatically reject poor-quality files. Also, double-check that your name is written exactly the same across all documents, including your passport, sponsor letter, and flight ticket, to avoid any delays or issues.
Smart Payment Strategies
If you have a local banking app or digital wallet like Gopay or OVO, you can use QRIS for instant payment. If you don’t have a local account, you can ask your friend to pay it first or pay your extension fee in cash at any post office or major bank such as Mandiri, BNI, or BRI using your printed Billing Code and receive an official payment receipt.
Office Visit Etiquete
Make sure to dress appropriately for your Immigration office visit by wearing a collared shirt and closed shoes. Also, even if you have uploaded all your documents online, you must bring your original passport and a printed copy of your registration or payment receipt when attending the biometric session for your photo and fingerprint scan.
Stay Compliant & Traceable
Double-check that the address you enter in the portal matches where you actually live so the system can assign you to the correct Immigration office.
Stay on Top of Your Finances with Topremit
Managing your visa or KITAS can be hectic, and at the same time, you may need to send money to family back home, pay bills, or handle personal expenses abroad. Topremit makes this simple, secure, and cost-effective.
You can send money to 90+ countries, with money arriving within minutes. With competitive rates, it allows you to take care of your finances without leaving your home or worrying about complicated bank processes.
Even better, you can enjoy 50% OFF vouchers by signing up with the referral code ‘VISA26’. This voucher can be used for transactions to all countries via all services. Make sure to claim it before June 30, 2026.
Download Topremit now and enjoy fast, safe and transparent international transfers with Topremit!
References
- Daftar Biaya Imigrasi. Direktorat Jenderal Imigrasi. Accessed on 22-03-2026.
- FAQ eVisa Imigrasi. Direktorat Jenderal Imigrasi. Accessed on 22-03-2026.
- PP No. 40 Tahun 2023. Peraturan BPK. Accessed on 22-03-2026.
- PP No. 28 Tahun 2019 tentang Jenis dan Tarif atas Jenis Penerimaan Negara Bukan Pajak yang Berlaku pada Kementerian Hukum dan HAM (Lampiran Tarif PNBP). Kantor Imigrasi (PDF). Accessed on 22‑03‑2026.
- Surat Edaran Penyesuaian Pelayanan Izin Tinggal Keimigrasian. Flado. Accessed on 22-03-2026.
- Tekan Angka Pelanggaran Keimigrasian, WNA Wajib ke Kantor Imigrasi untuk Perpanjangan Izin Tinggal. Direktorat Jenderal Imigrasi. Accessed on 22-03-2026.
- UU Keimigrasian – Direktorat Jenderal Imigrasi. Direktorat Jenderal Imigrasi, Kementerian Hukum dan Hak Asasi Manusia Republik Indonesia. Accessed on 22‑03‑2026.
Read more